How to Build a Deck: Deck-Building 101
Have you ever looked at your backyard and thought, "This space could use something more"? Or maybe you've imagined summer BBQs, morning coffees, or evening stargazing from a deck of your own?
This guide will walk you through the entire process of building a sturdy, stylish deck, from planning and materials selection to final touches. Whether you're tackling this as a DIY project or hiring a pro, you'll learn how to avoid common mistakes and make informed decisions.
Step 1: Planning Your Deck
Choosing the Right Deck Design
- Functionality. Will your deck be used for dining, lounging, grilling, or all of the above?
- Location. Position it near a door for easy access, or choose a shaded spot for a freestanding deck.
- Sun & Shade. Note how much sunlight the area gets throughout the day.
- Size & Shape. Standard board lengths (12, 16, or 20 feet) help minimize material waste.
- Future Expansion. Plan for a layout that allows easy additions without tearing out sections.
Understanding Local Building Codes and Permits
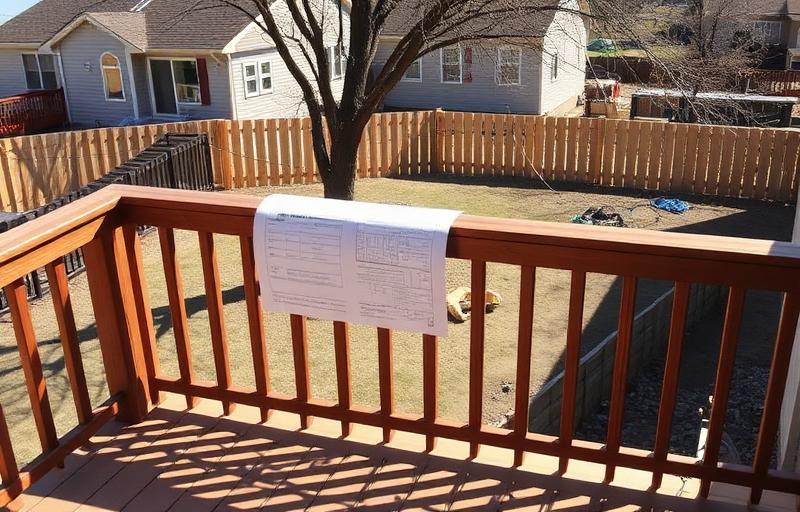
Before breaking ground, check your local zoning regulations. Most cities and counties in Kansas require a permit for deck building, especially if it's attached to the house or over a certain height.
Estimating Your Budget
A clear budget prevents overspending and helps you choose the right materials and features. Consider materials, tools, permits & fees, and extras like built-in seating, lighting, or a pergola.
Step 2: Selecting Materials and Tools
Decking Material Options
- Pressure-Treated Wood. Affordable and durable, but requires sealing or staining every few years.
- Composite Decking. Low-maintenance, resists fading and moisture. More expensive upfront but saves over time.
- Cedar or Redwood. Natural rot and insect resistance with a polished look. Requires occasional sealing.
Fasteners and Connectors
- Screws vs. Nails. Screws provide a stronger hold and resist pulling out over time.
- Joist Hangers. Metal brackets that support joists and ensure sturdy connections.
- Post Bases. Metal brackets that anchor posts to concrete footings.
- Hidden Fasteners. Create a seamless look by securing boards from below.
Step 3: Preparing the Site and Building the Foundation
A well-prepared site and sturdy footings ensure that your deck remains level and stable for years to come, even with Kansas' shifting soil and weather changes.
- Use batter boards and string lines to mark the exact perimeter.
- Dig post holes at least 30 inches deep to prevent shifting due to freeze-thaw cycles.
- Pour concrete footings for a sturdy base.
- Install post bases to anchor posts and prevent rot.
Step 4: Constructing the Deck Frame
The beams and joists form the deck's structure. Position and secure beams on top of posts, lay joists 16 inches apart (12 inches for composite), use joist hangers for extra support, and check for level alignment.
Step 5: Installing Deck Boards
- Choose a layout pattern: parallel, diagonal, or picture frame style.
- Allow ⅛-inch to ¼-inch expansion gaps between boards.
- Secure with screws, not nails, for a stronger hold.
- Lay boards with the grain facing up to reduce warping.
Step 6: Building Railings and Stairs
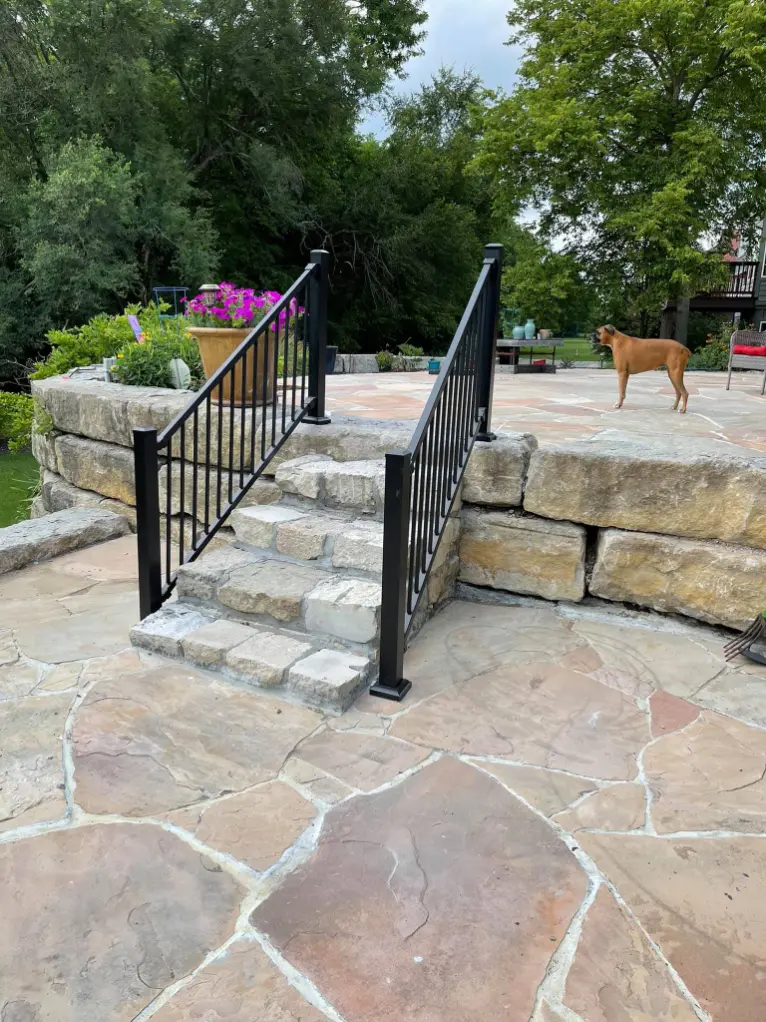
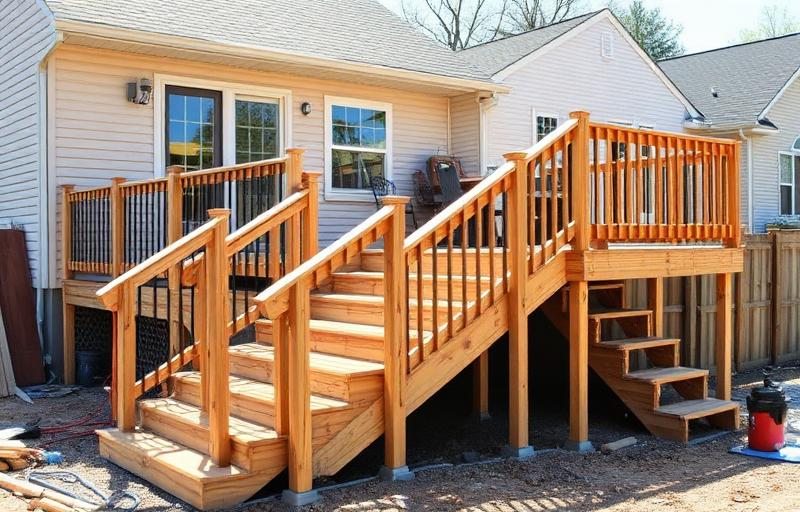
Most codes require railings at least 36 inches high with balusters spaced less than 4 inches apart. Attach railing posts to the deck's joists with lag bolts. For stairs, measure the rise and run carefully and install stair stringers securely.
Step 7: Finishing and Maintaining Your Deck
- Choose a clear sealer or stain for UV protection.
- Apply in thin coats on a dry day.
- Reapply every 2–3 years for maximum protection.
- Inspect annually for loose nails, cracked joists, or splintering boards.
Step 8: Enhancing Your Deck
- Install deck lighting. LED post lights, under-rail lighting, or string lights.
- Use weather-resistant furniture designed to withstand Kansas weather.
- Add shade solutions, pergolas, umbrellas, or retractable awnings.
- Incorporate built-in benches, outdoor storage, or a fire pit.
Ready To Start Your Project?
No pressure, just an honest conversation about your home.
Let's Start A Conversation