How to Install Vinyl Plank Flooring: A Step-by-Step Guide
Vinyl plank flooring installation comes down to three things: a flat, clean, dry subfloor, a planned layout, and following the manufacturer's written instructions to the letter. Most luxury vinyl plank (LVP) sold today is a click-lock floating floor, meaning the planks lock to each other and rest on the subfloor without nails or glue.
Where installs go wrong is almost never the clicking part. It is skipped prep: a subfloor with dips and humps, a basement slab that was never moisture tested, doubled-up underlayment, or planks jammed tight against the walls. Those shortcuts show up months later as gapping seams, bouncy spots, and peaking joints, and they can void the product warranty.
Below is the process our team follows on remodels around Ottawa and Franklin County, written so a careful homeowner can do it too. We also cover bathrooms, stairs, and when it makes more sense to hand the job to a pro.
Key takeaways
- Read the installation guide for your exact product first. Acclimation, flatness, underlayment, and gap rules vary by brand, and the warranty depends on following them.
- Flatness matters more than level. Grind high spots and fill low spots until the subfloor meets the manufacturer's tolerance.
- Moisture test concrete slabs, especially Kansas basements, before any flooring goes down.
- Do not add a separate underlayment under planks with an attached pad unless the manufacturer allows it.
- Leave the expansion gap at every wall and fixed object, and never pin a floating floor under heavy cabinets unless the product is rated for it.
Tools and materials you will need
- Tape measure, speed square, and chalk line
- Utility knife with plenty of fresh blades (most rigid core planks cut by scoring and snapping)
- Tapping block, pull bar, and rubber mallet made for vinyl (a steel hammer on a plank edge will crush the locking profile)
- Jamb saw or oscillating multi-tool for undercutting door casings
- Jigsaw or oscillating tool for notches around vents and pipes
- Long straightedge (6 to 10 feet) for checking flatness
- Spacers, floor patch or self-leveler, and a grinder or sander for high spots
- Moisture test kit if you are going over concrete
- Underlayment or vapor barrier only if your product calls for it
- Transition strips, stair nosing, and baseboard or quarter round
Order enough flooring to cover waste from cuts and pattern matching. Keep a box of leftovers for future repairs, since product lines change.
Step 1: Acclimate the flooring
Acclimation means letting the planks adjust to the temperature of the room before installing. Many manufacturers ask for the boxes to sit flat in the room for a set period with the heat or air running at normal living conditions. Some rigid core products need little or no acclimation. Follow what your installation guide says, not a rule of thumb from a video.
Kansas matters here. A garage in January or a truck bed in July is a very different environment from a conditioned house, and planks installed cold or hot can move once they settle to room temperature.
Step 2: Prepare and flatten the subfloor
Pull baseboards, remove old flooring, and scrape up staples and adhesive ridges. Vinyl telegraphs anything underneath it. Then check flatness with a long straightedge in several directions.
Flat is not the same as level. A floor can slope gently and still be flat. What you are looking for are dips and humps over short distances. Many manufacturers specify something along the lines of 3/16 inch over 10 feet, but the number varies, so check your product's flatness tolerance and meet it.
- Low spots: fill with a cement-based floor patch or self-leveling compound, feathered out smooth.
- High spots: grind concrete or sand down raised wood seams.
- Wood subfloors: re-screw squeaky or loose areas and replace any soft, water-damaged plywood.
- Existing floors: many products can go over sound, well-bonded sheet vinyl or tile if grout lines are filled flat. Do not float over carpet or cushioned vinyl.
Older homes in Ottawa often have plank subfloors, several layers of past flooring, or rooms that have settled over the decades. Getting those flat is sometimes the biggest part of the job.
Step 3: Moisture test concrete
Waterproof planks do not stop moisture from coming up through a slab. Trapped moisture under the floor can lead to mold, odors, and adhesive failure on glue-down products. Basements in Franklin and Miami counties sit in clay soils that hold water, and many slabs show some moisture during wet springs.
- Look first: white chalky deposits (efflorescence), damp spots, or musty smells point to a moisture issue that needs attention before any flooring.
- Do a quick screen by taping a square of clear plastic to the slab for a day or two and checking for condensation or darkening underneath.
- For a real answer, use the test method your manufacturer requires, usually an in-slab relative humidity probe or a calcium chloride test, and compare the result to the product's limit.
- If the slab is within limits, install the vapor barrier the manufacturer specifies (some planks with attached pads still require a poly sheet over concrete).
- If it is over the limit, fix the source first: grading, gutters, cracks, or drainage.
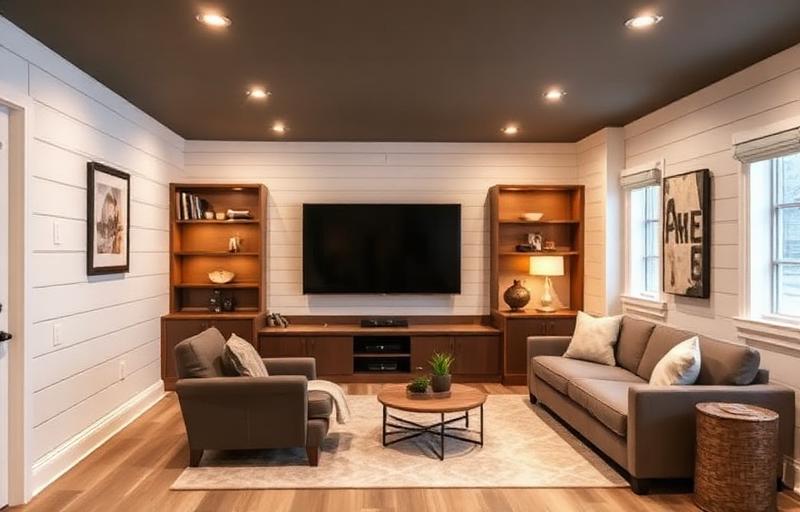
If you are planning a lower level, our basement finishing work always starts with the moisture question, and our guide to basement wall ideas covers the same issue for walls.
Underlayment rules
More padding is not better. Vinyl planks need a firm base, and too much cushion lets the locking joints flex and eventually break.
- Planks with an attached pad: do not add a separate foam underlayment unless the manufacturer specifically approves one.
- Planks without a pad: use only the underlayment type the manufacturer lists, usually a thin, dense product.
- Over concrete: a vapor barrier is commonly required, even when the plank has a pad.
- Glue-down vinyl: no underlayment. It bonds directly to a prepared subfloor.
Click-lock vs glue-down vs loose lay
Click-lock (floating) is the most common and most DIY-friendly. It needs expansion gaps and cannot be pinned down by heavy fixed objects. Glue-down vinyl is thinner and bonds to the subfloor, which makes it stable in large rooms, commercial settings, and on stairs, but prep has to be even better and it is harder to remove later. Loose lay planks are heavy and grip the floor by friction. Single planks are easy to replace, but it is less common in homes.
Step 4: Plan the layout and first row
- Run planks parallel to the longest wall or main line of sight. In galley kitchens and hallways, lengthwise usually looks best.
- Measure the room width and divide by the plank width. If the last row would be a narrow sliver, rip the first row so both edge rows end up roughly equal.
- Walls are rarely straight, so snap a chalk line for the first row instead of following the wall.
- Plan doorways and transitions so seams do not land in awkward spots.
- Pull planks from several boxes so color variation mixes naturally.
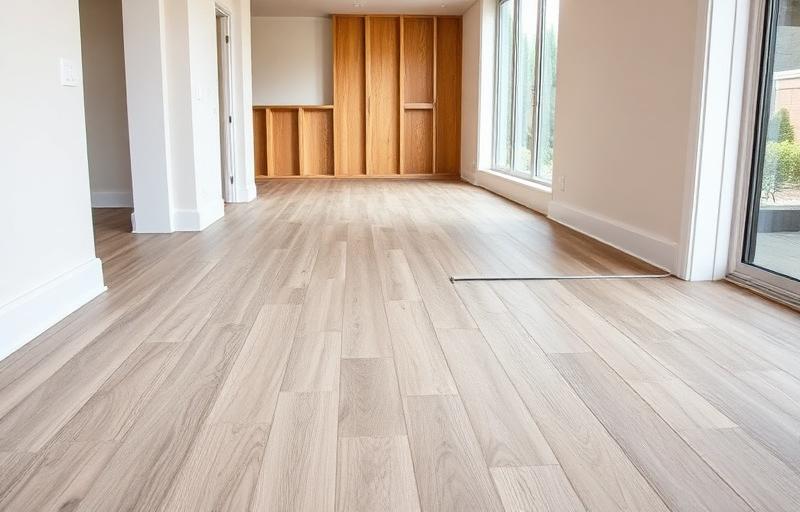
Step 5: Install the rows
- Set spacers along the starting wall to hold the expansion gap your manufacturer lists, often around 1/4 inch.
- Lay the first row along your chalk line, locking the short ends together.
- Start the second row with a cut piece so the end joints are offset. Angle the long edge into the previous row, lower it, and tap the short end closed with the tapping block.
- Stagger end seams by the minimum distance the manufacturer lists, commonly at least 6 to 8 inches, and avoid repeating H or stair-step patterns.
- Check that each seam is fully closed and flush before moving on.
- Rip the last row to width, keeping the expansion gap, and use the pull bar to close it.
Expansion gaps and cutting around door jambs
Leave the gap at every wall, cabinet base, pipe, and threshold. The baseboard or quarter round covers it. At doors, do not try to scribe the plank around the casing. Lay a plank upside down as a height guide and undercut the casing and jamb with a jamb saw, then slide the plank underneath. It looks cleaner and keeps the gap hidden.
Transitions
Use the matching transitions where vinyl meets carpet, tile, or another floor, and in wide doorways or long runs where the manufacturer requires a break in the floating floor.
Stairs
Stairs are the hardest part of an LVP install. Click-lock planks are not meant to float on stairs. Treads and risers are usually glued down with the adhesive the manufacturer recommends, and each step gets a matching stair nose piece fastened securely. If you are going to hire out one piece of the job, this is a good candidate.
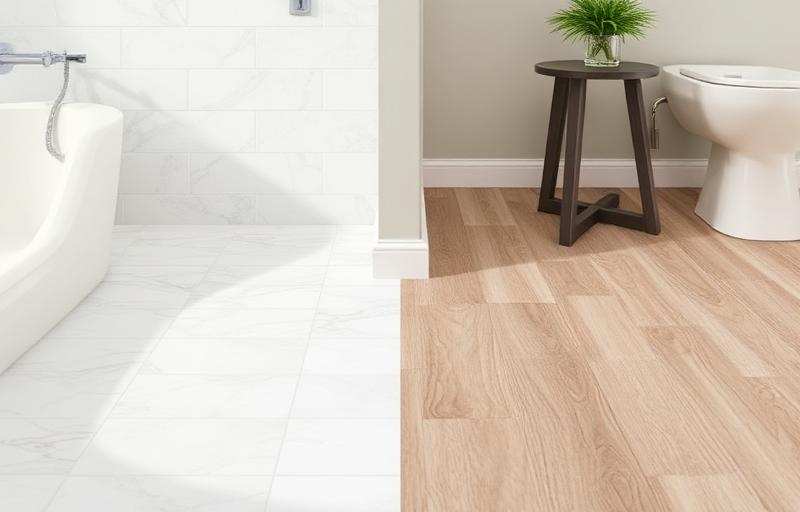
Installing vinyl plank flooring in a bathroom
Bathrooms are one of the best places for vinyl, as long as you understand the difference between water-resistant and waterproof. A waterproof plank will not swell if it gets wet, but water can still get through seams and around the edges and sit on the subfloor. So the details at the perimeter matter.
- Toilet: pull the toilet, cut the plank to fit around the flange with a small gap, and reset with a new wax ring. If the floor height changed, check that the flange still sits properly and use an extension ring or spacer as needed.
- Vanity: many manufacturers do not allow heavy vanities to sit on a floating floor. Commonly the floor runs up to the vanity base with a gap, trimmed or caulked. Check your product before installing under anything fixed.
- Tub and shower: leave the expansion gap at the tub apron and shower base, then seal with a pure silicone sealant only where the manufacturer allows. Some products require flexible sealant at wet-area perimeters, others do not.
- Doorways: use a transition piece rather than running one floating floor through a narrow door into the next room when the manufacturer calls for a break.
If you are weighing materials first, our comparison of tile vs LVT for bathroom floors walks through the tradeoffs.
Common mistakes to avoid
- Skipping flatness checks and assuming the planks will bridge dips.
- Butting planks tight to walls, cabinets, or pipes with no expansion gap.
- Installing a floating floor under kitchen islands, cabinets, or heavy built-ins when the product does not allow it.
- Using a steam mop, which many manufacturers prohibit.
Warranty caution
Most vinyl plank warranties are only as good as the installation. Manufacturers typically exclude damage from improper subfloor prep, missing expansion gaps, unapproved underlayment, or moisture. Keep the installation guide, receipts, and moisture test results together in case you ever need to file a claim.
When DIY makes sense and when to hire a pro
A bedroom with a sound wood subfloor and few doorways is a reasonable DIY project for someone patient and handy. It gets harder with stairs, bathroom fixtures, basement slabs that need moisture work, out-of-flat subfloors, and kitchens with cabinets and appliances to work around.
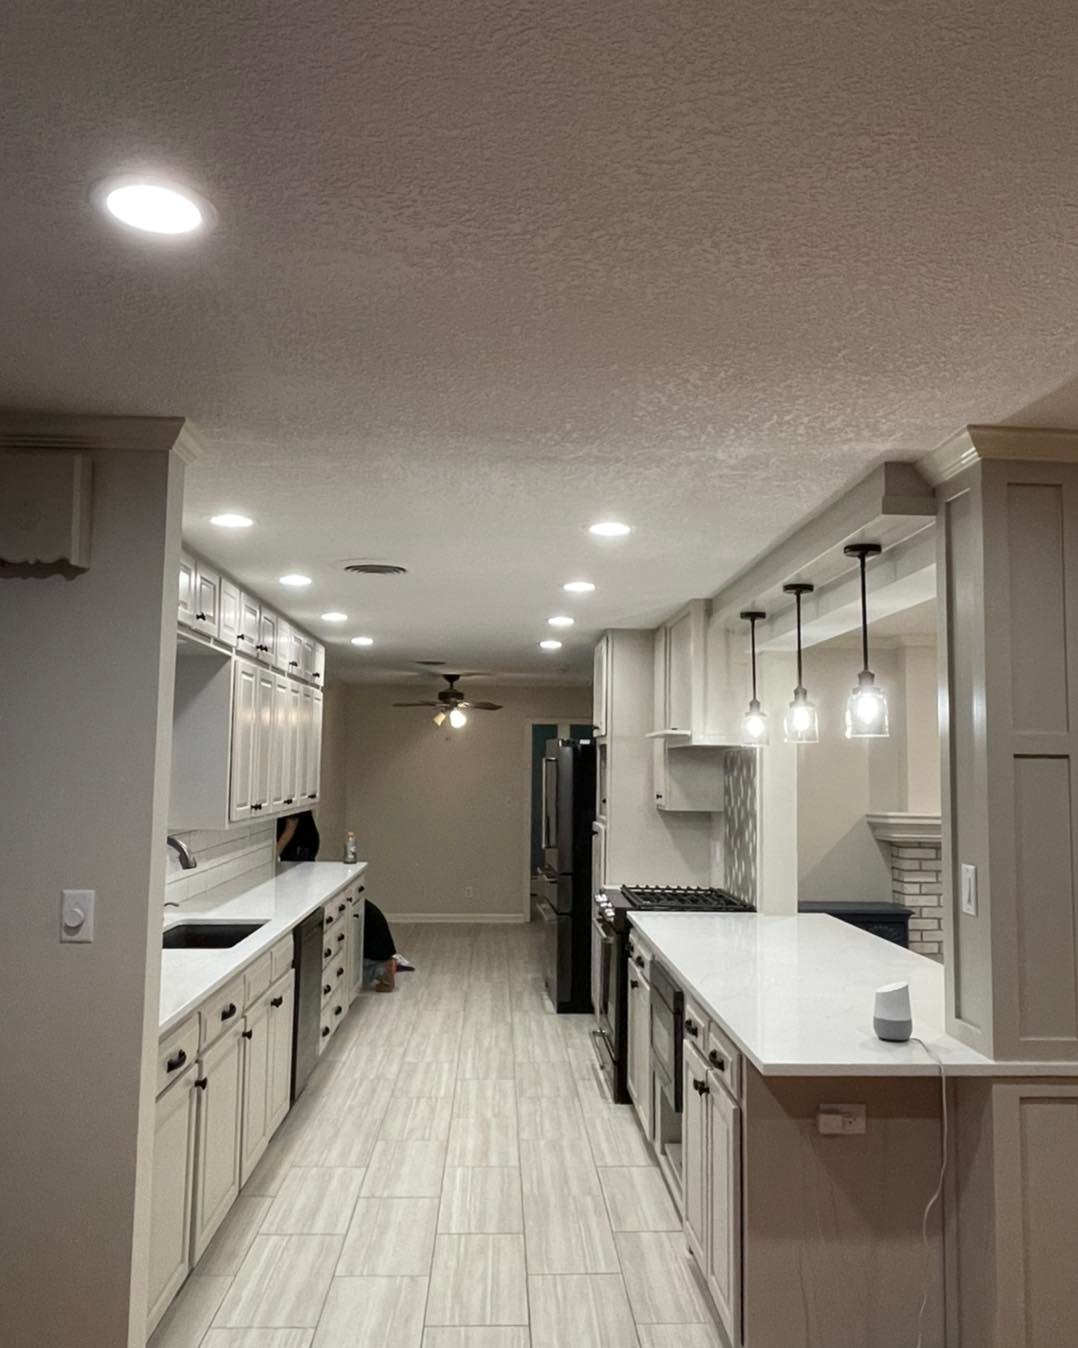
Flooring is often one piece of a larger project for us, planned together with cabinets and layout. If that is your situation, our kitchen remodeling in Ottawa, KS team can help, and our guide to the best kitchen flooring options compares LVP with tile, hardwood, and laminate. For a broader look at the do-it-yourself question, see DIY vs professional bathroom remodeling.
Frequently Asked Questions
Can you install vinyl plank flooring in a bathroom?
Yes, and it is one of the most common places we use it. Choose a waterproof product, leave the expansion gap at the tub, shower, and walls, and seal perimeters where the manufacturer allows. Pull the toilet and fit the plank around the flange rather than trimming around the base.
Do you need underlayment for vinyl plank flooring?
It depends on the product. Planks with an attached pad usually should not get a second underlayment, and doubling up can damage the locking joints. Over concrete, many manufacturers still require a vapor barrier sheet, so follow the installation guide for your specific plank.
Can vinyl plank go over existing tile or concrete?
Often, yes. Tile needs to be sound and well bonded, with grout lines filled flat so they do not show through. Concrete needs to be flat within the manufacturer's tolerance and moisture tested, which is especially important for basement slabs in Kansas.
Should vinyl plank go under the vanity and toilet?
Not under the toilet: the plank is cut around the flange and the toilet is reset on top of the new floor. For vanities, many manufacturers do not allow heavy fixed cabinets on a floating floor, so the floor usually stops at the vanity with a gap. If you want flooring under a new vanity, confirm your product allows it.
How long should vinyl plank acclimate?
Follow the manufacturer. Many call for acclimating the boxes in the room at normal living temperatures for a set period before installing, while some rigid core products need little or no acclimation. The installation guide for your product is the only reliable answer.
If you would rather talk through your floors, subfloor, or a bigger remodel with someone who has seen a lot of Franklin County homes, start a conversation with our team. We will help you figure out what the job really involves before you buy a single box.
Planning this project? See our whole-home remodeling services
Ready To Start Your Project?
No pressure, just an honest conversation about your home.
Let's Start A Conversation